Last weekend, my mom brought up some binding for me to do, and since talking to her and others I realized everyone thought there was only *ONE* way to attach bias binding to a project. There’s not! Today I’m going to walk you though step-by-step, and show you how to do it in one go through the sewing machine.
Ready?
First up, I’m assuming you are using purchased bias binding. You can use self-made binding, the procedure is the same, but you will have to press it beforehand, so it is folded the same as the bought stuff. (Fold long cut edges to the middle and press. Fold in half, press again.)
With the purchased bias binding, one side is usually a teensy bit smaller than the other. Take note of that side and keep it facing UP. This is the “front” part of the bias binding.

You may also want to baste the cut edges of your item and trim them even. I normally do NOT cut my binding at this time, I just pull it off the cardboard and go. This way I never cut it too short.
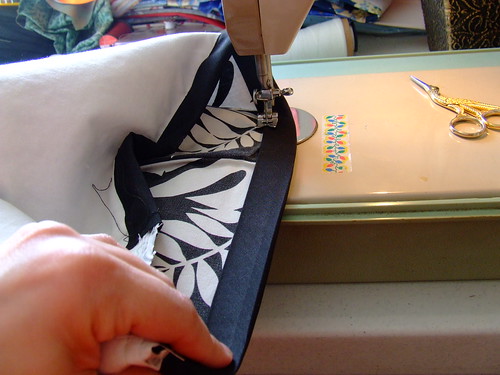
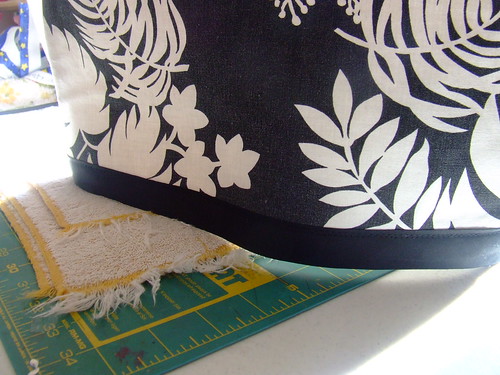
Pick the starting point on your item and line up the cut edge in the middle fold of the start of the binding. Put the wider part of the binding on the bottom. (left) the right side will be folded back over to the front.
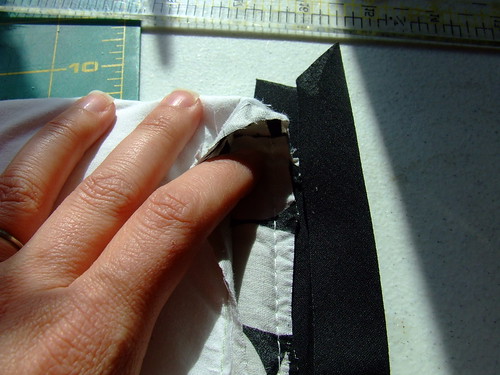
See?
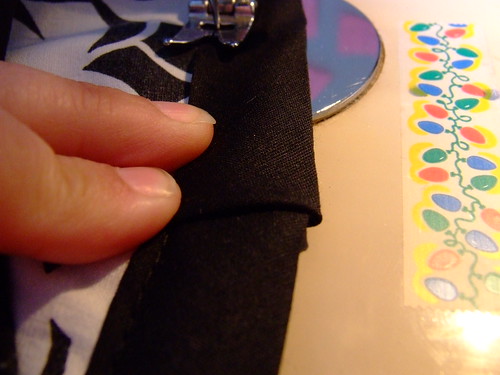
We’re just tucking the raw edge inside the binding.
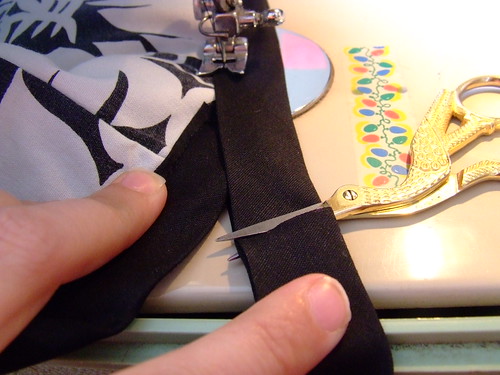
Now pin it from the front side. You can flip it over every so often to make sure the pin catches the edge on the back. This is the important part.
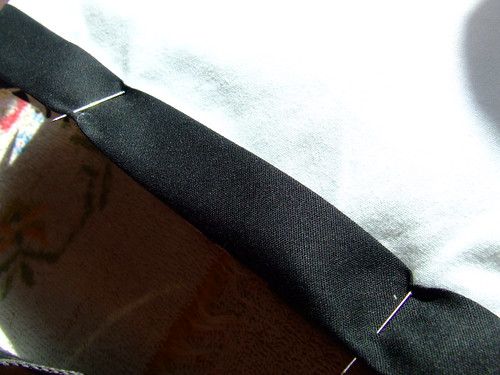
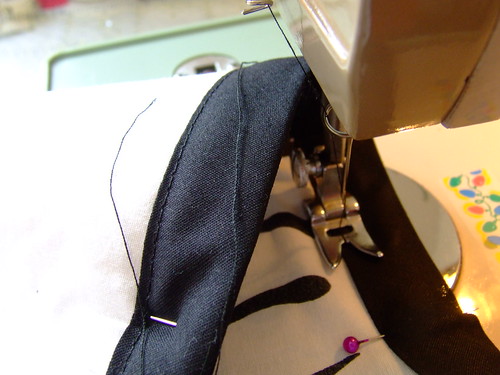
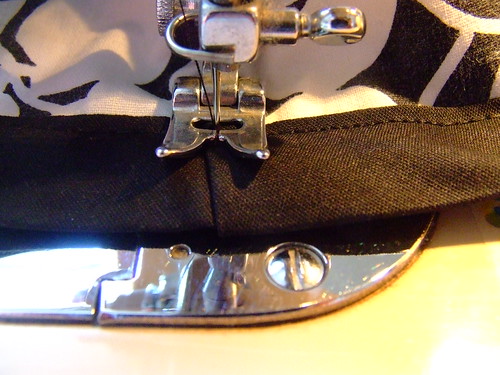
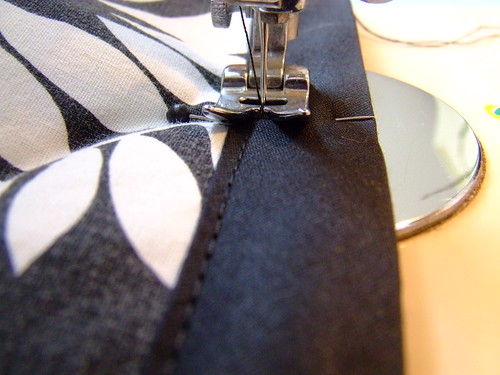
Now we can start sewing! Front side up, remember.

I line up the edge of the binding just inside the opening on the presser foot, NOT with the left edge of the foot. I find it’s too wide.
Every so often, flip it over to make sure you’re catching the edge of the binding on the back.
Here I decided to wing it and not use pins. A little harder to control. but you can go faster. 🙂
When you get back to where you started, you’ll be able to determine where to cut the binding. Leave enough to overlap the beginning AND tuck some inside to hide the cut edge.
Tuck that cut edge inside, make sure it’s neat on the back, fold it around where you started and stitch until you get to the edge of the fold.
Leave the needle in the fabric, turning the wheel so it’s down if you have to. Lift the foot up, pivot your item 90 degrees so the fold is straight towards you. Put the foot back down.
Stitch forward to the edge of the fabric, then stitch backwards a bit, and forward again and off. You are done. It shoudl look liek this:
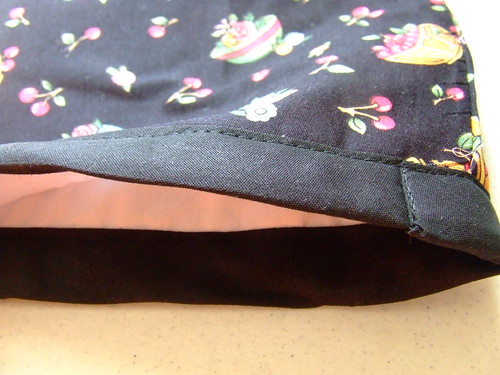
Yes, it’s a different cozy, You’ll see why next photo.
Remember when I was winging it with no pins? Here’s the back.
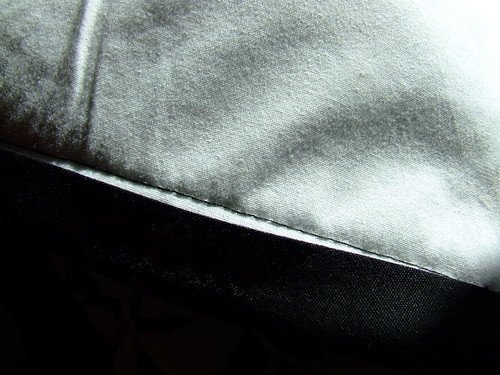
It didn’t catch. No worries! We can just pin it and re-stitch this area.
I made note of where it was fine, and stitched from about an inch or so before the gap on the back, to an inch beyond. When pinned, it’s easy to see on the front side.
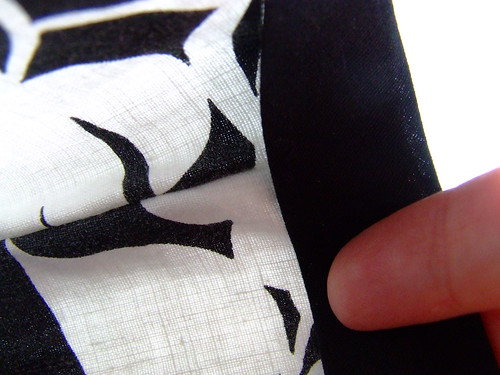
Sometimes, another minor oops is catching too much on the backside.
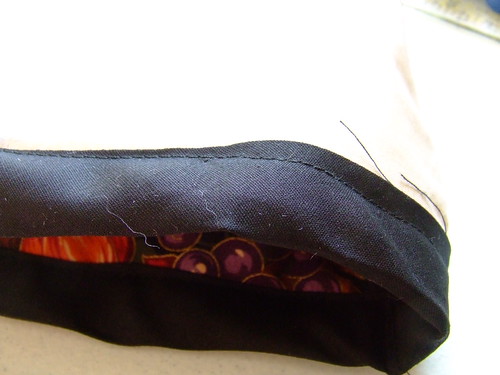
I normally just leave it and say “That’s why they call it the back.” Also note the rippling: this is caused by shifting the front & back. Sometimes that happens, and if it’s not a lot, I leave it. If it is a lot, you’ll have to rip it out and do it over. (Sorry!)
In the end, it’s hardly noticeable.
You can click on each picture to see them hosted at Flickr. There, right above them, is a little icon that says “all sizes” where you can see them exceedingly large and close up, if you need to.
If you enjoyed this post, StumbleIt or link to it and tell all your friends. 🙂
Cool. I also have a binding foot for my machine. It has a cool bit that folds the binding and gets it all lined up for you. Very cool. If you’ve not seen one, I could take some photos (of the foot, not the whole procedure; sewing machine seems to be buried and not photogenic right now).
JoVEs last blog post..I’ve established a yoga practice
I googled it, looks cool. 🙂